When working on mixed media AI projects, the right prompt packs can transform your workflow. These packs provide pre-tested prompts designed to generate consistent, high-quality elements for layered compositions. Using a comprehensive prompt megapack can provide the variety needed for these complex projects. Whether you're creating zines, album covers, or posters, combining the right textures, stylized portraits, and typography outputs is key to achieving polished results. This guide breaks down the best types of prompt packs for mixed media workflows, explains how to use them effectively, and points you to curated resources on Art Prompt HQ to streamline your process.
What Mixed Media Means in the Age of AI
Defining AI Mixed Media
Traditionally, mixed media involves combining materials like newspaper clippings, paint, or fabric into a single artwork. In the world of AI, mixed media transforms this concept into a digital process. Instead of physically layering materials, you combine AI-generated elements: a portrait from one model, a texture from another, and typography created separately.
The approach to gathering materials has shifted entirely. Where traditional artists might scour for physical items, AI creators rely on crafting specific prompts. For example, a phrase like "yellowed vintage newspaper background, matte finish" can replace the need for actual paper, while "torn paper edges, frayed fabric swatches" mimics the tactile qualities of a handmade collage. This digital method of "material gathering" highlights the importance of selecting the right AI tools for the job. Using a multi-category prompt pack can significantly speed up this process by providing a library of diverse textures and styles.
AI Models and Their Role in Mixed Media
Each AI model brings its own strengths to a mixed media workflow. Midjourney excels at creating intricate backgrounds and detailed focal points, while DALL·E is great for generating artistic textures and abstract overlays. Flux, on the other hand, is perfect for producing clean outputs that work well with typography or graphic design, as it avoids unwanted text artifacts.
Seasoned creators often combine outputs from multiple models, letting each one handle the specific layers it does best. This multi-model approach ensures a polished and cohesive final piece.
Key Elements of a Mixed Media Composition
To create a compelling mixed media piece, it’s important to understand its foundational components. Whether you’re designing a zine layout or an album cover, these core elements are essential:
- Base layer: A textured background, like aged paper, matte cardstock, or a grainy surface, sets the tone and provides a neutral foundation.
- Focal element: The centerpiece of the composition - such as a portrait, product, or illustration - should be rendered with sharp detail and standout lighting to draw attention.
- Textures and overlays: Elements like ink patterns, watercolor and gouache textures, or fabric-like visuals add depth and help unify the layers.
sbb-itb-997826f
Prompt Pack Types That Work Best in Mixed Media Workflows
Not all prompt packs across different art styles are equally suited for mixed media projects. The ones that shine are typically crafted to handle specific layers in a composition, making them indispensable for creating cohesive designs.
Texture and Abstract Packs
These packs are the backbone of mixed media workflows. They generate images without a central subject - just surfaces, patterns, or atmospheric elements. This neutrality creates a flexible base for adding portraits or graphic elements later.
The most effective packs mimic physical materials like aged paper, acrylic spills, charcoal smudges, or gauzy textures. Look for prompts that include details such as torn edges with subtle 2–4mm drop shadows, which add a tactile feel to digital layers. Packs optimized for 8K resolution are ideal, as they preserve fine details like grains and fibers, even when cropped or resized.
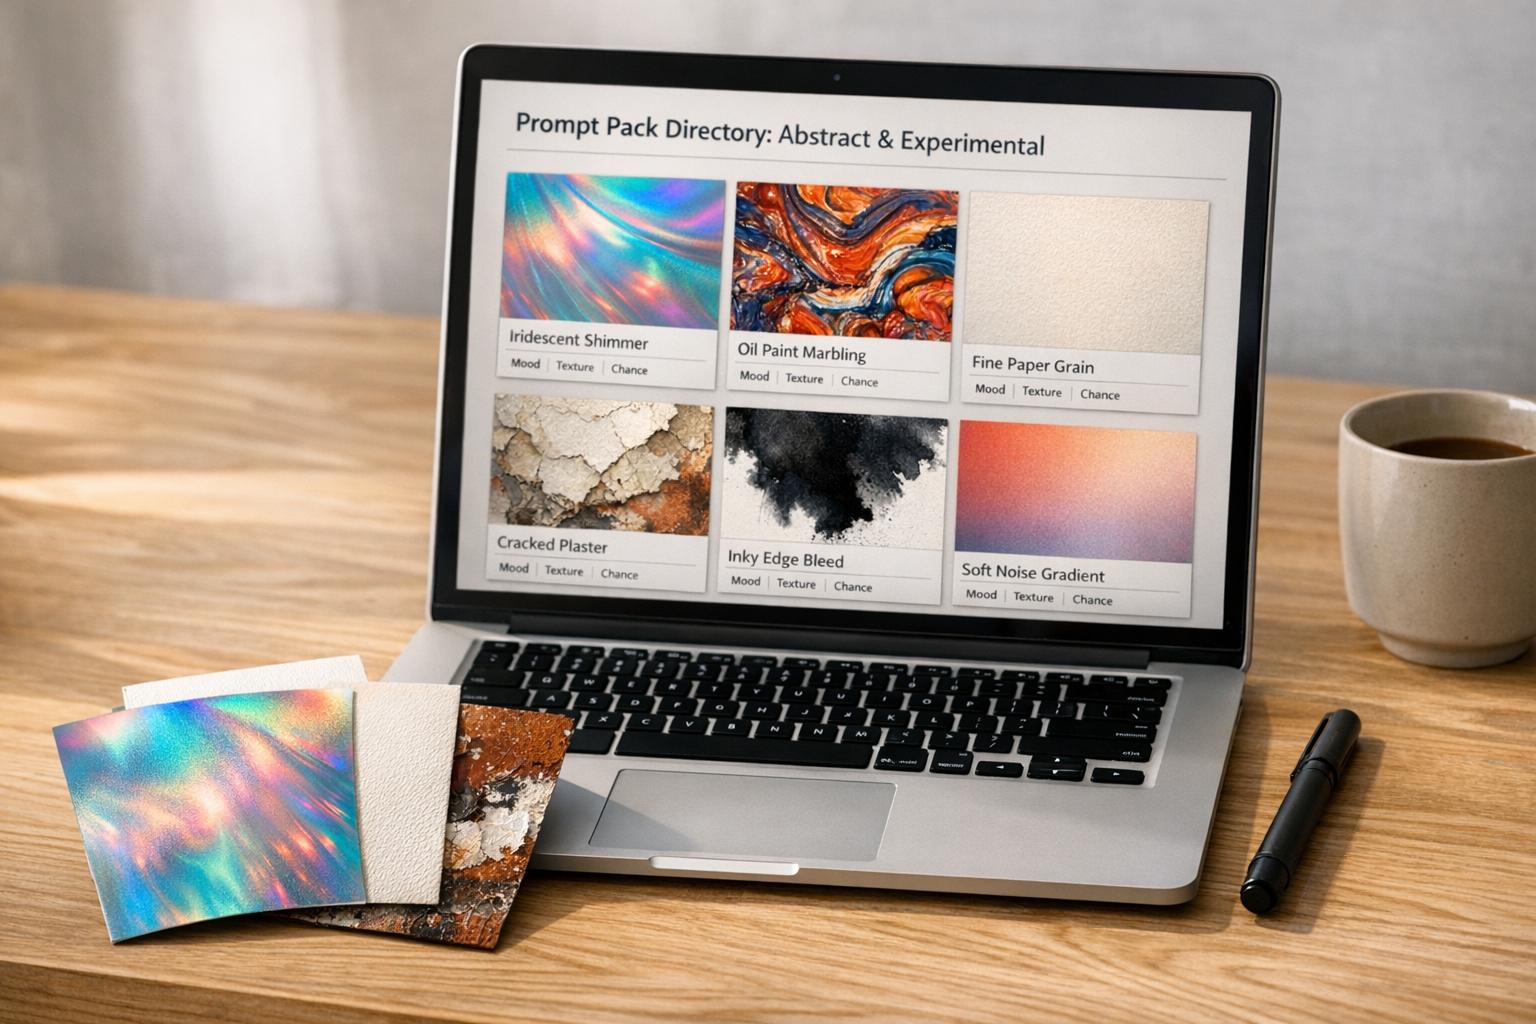
To avoid issues like blurry edges or unwanted artifacts, choose trending AI art prompts with negative prompt strings. This keeps your textures clean and ready for compositing. For inspiration, check out Abstract & Experimental Packs on Art Prompt HQ.
Portrait and Object Packs
When it comes to focal elements, clarity and precision are key. Portrait and object packs designed for mixed media often feature neutral or minimal backgrounds and cinematic rim lighting, making it easier to isolate subjects and layer them over textures or environments.
High-quality packs in this category often include tokens for ultra-realistic skin textures, subsurface scattering, and 8K resolution. This ensures the focal elements remain crisp and detailed, even when placed over intricate backgrounds. Some packs also incorporate stylistic effects like ink cross-hatching or pen-and-ink sketches, helping the subject blend seamlessly into collages. Explore options in Portrait Packs and Character Packs for layer-ready outputs.
Typography and Graphic Layout Packs
These packs are less about creating readable text and more about generating type-friendly designs. They focus on layouts with open spaces, clean frames, and simple graphic structures, providing a perfect canvas for adding your own typography. Think of them as ready-made templates for social media posts, zines, or posters.
Flat 2D styles work particularly well here, as they avoid perspective distortions that can clash with other layers. Tools like Flux are great for generating clean designs free of messy AI text artifacts, making them ideal for custom typography work.
Background and Environment Packs
While texture packs handle surfaces, environment packs create spatial depth and mood. These packs are perfect for setting the tone of a piece, whether it’s a foggy landscape or a desaturated urban scene. They provide a rich backdrop that complements rather than competes with your focal elements.
For editorial or gallery-style projects, Landscape and Environment Packs work especially well. They deliver complete visuals with enough negative space to accommodate additional layers like portraits or graphics.
Hybrid and Specialty Packs
Hybrid packs blur the lines between photography and graphic art, often simulating analog print techniques like risograph duotones, screen-print halftones, or Xerox-style textures. These packs can produce outputs that feel like finished mixed media pieces right out of the box.
However, they come with less flexibility. A risograph-style pack, for example, locks you into a specific aesthetic, making them best suited for projects with a clear visual direction, such as zines or limited-edition prints.
These pack types are the building blocks for layered, visually cohesive mixed media projects. Most successful designs combine at least two or three categories - for instance, using a texture or environment pack for the base, a portrait or object pack for the focal point, and a graphic layout or hybrid pack to tie everything together.
Planning a Mixed Media Piece: Layers, Focal Points, and Textures
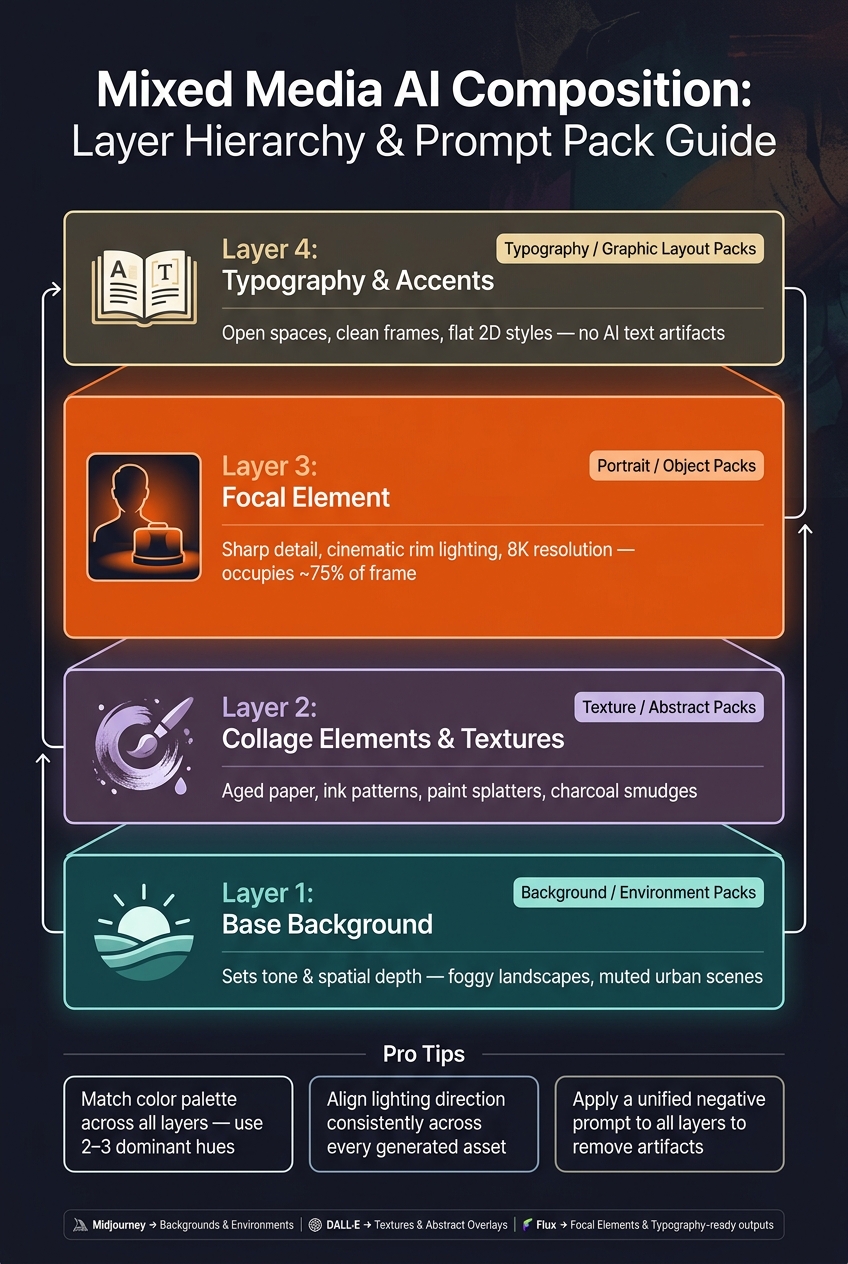
Mixed Media AI Workflow: Layer Structure & Prompt Pack Types
Creating a successful mixed media piece starts with a thoughtful approach to layering. Visualize your work as a collection of distinct layers, each serving a specific purpose and tied to a relevant prompt pack category.
Choosing Your Output Format and Project Type
Start by deciding on the format - whether it’s a zine, album cover, or Instagram post. This choice determines the aspect ratio and resolution you’ll need. For portrait-oriented social media posts, a 4:5 aspect ratio is ideal for maximizing vertical space. Ensure every element you generate fits seamlessly into the chosen frame to avoid awkward cropping later.
For print projects like gallery pieces, zines, or posters, prioritize 8K prompt packs to capture the fine details that stand out in high-resolution prints. By planning the format and resolution upfront, you ensure that all components work together harmoniously.
Setting a Focal Hierarchy
Once you’ve locked in the format, establish a clear visual hierarchy for your layers to guide the viewer’s eye.
| Layer | Role | Prompt Pack Category |
|---|---|---|
| Base Background | The foundation or stage | Background/Environment packs |
| Collage Elements | Context and mood enhancers | Texture/Abstract packs |
| Focal Element | The main subject | Portrait or Object packs (such as a portrait prompts bundle) |
| Typography/Accents | Anchor for information | Typography/Graphic Layout packs |
Dedicate about 75% of the frame to the focal element to ensure clarity and impact. Backgrounds should remain neutral in key areas, allowing the focal point to stand out. Use sharper lighting and more detailed rendering for the focal element to give it the necessary visual weight.
After defining the layers, focus on blending their mood and style to create a unified composition.
Matching Mood, Color, and Style Across Packs
With your layer structure in place, use consistent design parameters to tie everything together. Start by defining a shared color palette - select two or three dominant hues and carry them across all layers. For instance, a sepia-and-vibrant-orange palette can connect elements like a vintage newspaper texture, an ink-style portrait, and typography.
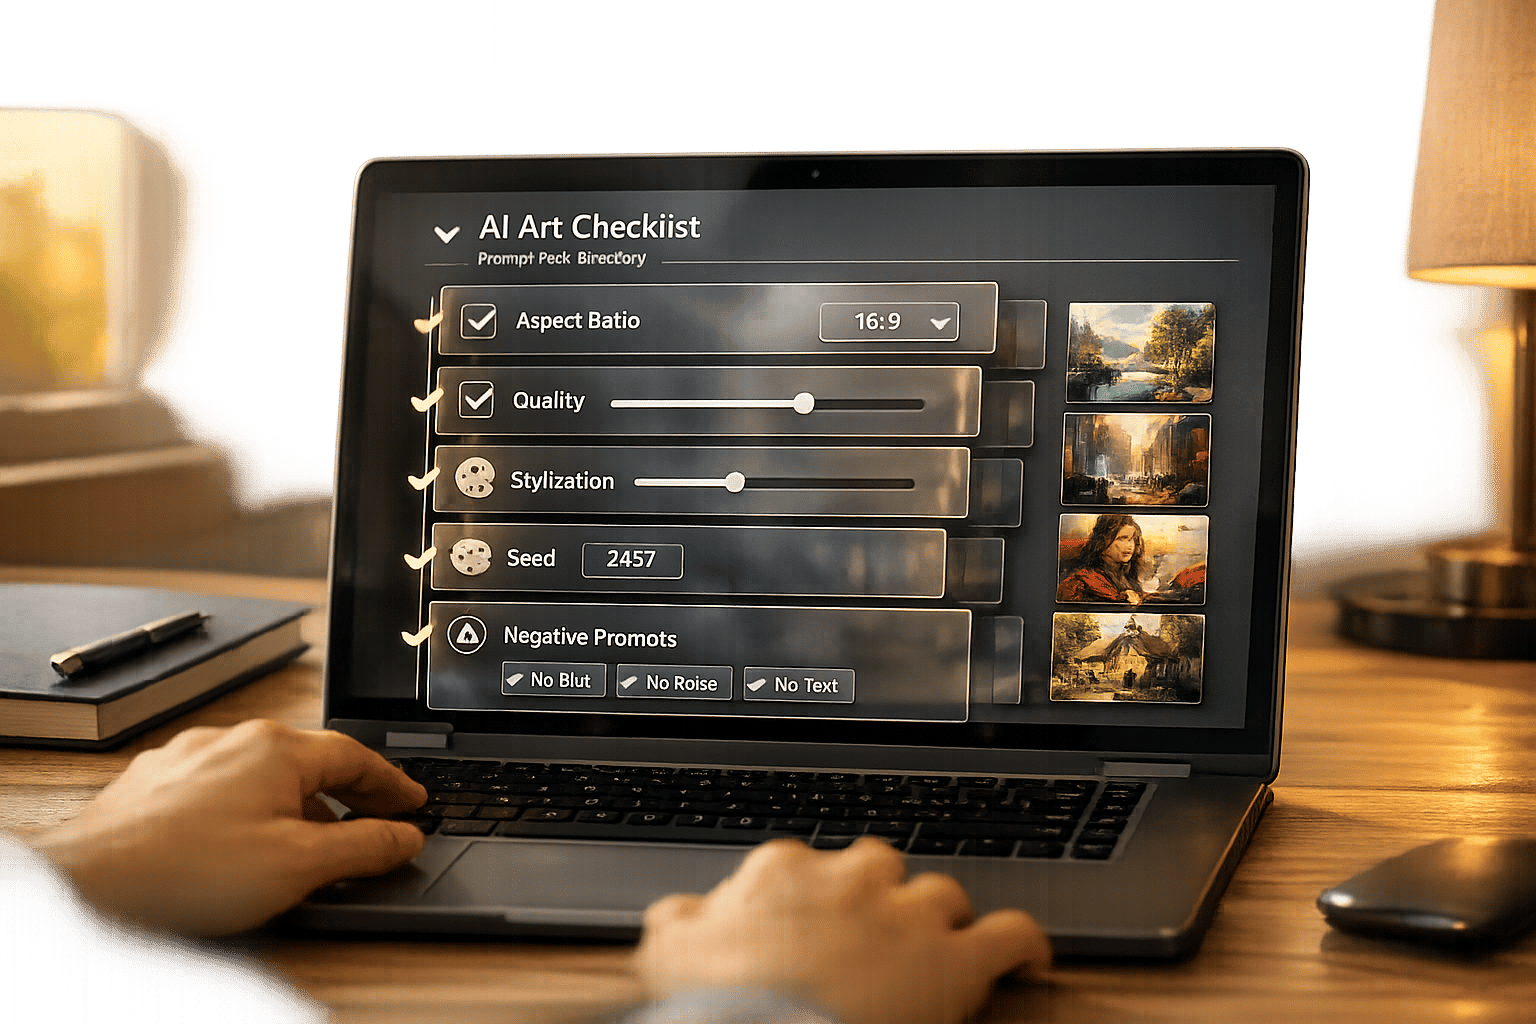
Next, align the lighting across layers. Inconsistent light directions can make a piece feel disjointed, so ensure all elements share the same lighting logic. Finally, apply a unified negative prompt string during generation to avoid issues like unwanted blur or stray text.
"The structure bakes in subject, lighting, camera, and composition so you can swap in different characters or styles without rebuilding the prompt from scratch." - Art Prompt HQ [1]
This structured approach - locking in lighting, style, and color while adjusting the subject - helps transform a mixed media project from a collection of random elements into a polished, cohesive series.
Practical Workflows for Combining Packs in Layered Art
When your planning is done, approach each pack as a separate building block and assemble your composition step-by-step. By sticking to your outlined layers and mood, you can craft a cohesive mixed media artwork.
Generating Base Backgrounds and Textures
Start with the background. Use prompts that include phrases like "empty light center area" to ensure the backdrop doesn’t overpower the focal point [2]. This approach works particularly well for projects like posters, album covers, or zine spreads where the subject needs space to stand out.
Incorporate descriptive tokens such as "visible paper texture", "ink lines," or "matte surface finish" to give the background a tactile, physical feel [3]. If you're using multiple AI models - like Midjourney for intricate environments and DALL·E for softer, illustrative textures - make sure your prompts remain consistent across both platforms. This ensures the outputs align visually [1][2].
Once the base is set, you’re ready to focus on creating your primary subject.
Creating Focal Elements
Generate the focal element separately for better control. Use precise, photography-inspired language in your prompts, such as "85mm lens", "centered close-up," and "frontal lighting," to produce a subject that’s sharp, well-composed, and easy to integrate into the final piece [1][4]. Aim for the focal element to occupy about 75% of the frame height, giving it the necessary visual prominence over the background.
Consistency is key, especially when working on a series. For example, if you’re creating portraits for a zine, use a portrait blueprint from your chosen pack to lock in uniform lighting and framing across all images [3]. This avoids mismatches, such as one character being lit from the left while another is lit from above. Consider using Flux for focal elements when you need clean, graphic outputs without unwanted text artifacts [2].
With your focal element ready, you can move on to layering and finalizing the composition.
Layering Textures, Graphics, and Typography
Now, generate overlay elements to tie everything together. Keep prompts concise and focused on material interactions, like "acrylic drips over vintage paper" or "ink cross-hatching over a newspaper background" [3]. These overlays add depth and visual complexity to your piece.
Apply a unified negative prompt to all assets to remove blur, extra limbs, digital compression artifacts, or watermarks [1][3]. Once your assets are ready, bring them into your compositing software. Stack the layers in the proper order - background, focal element, overlays, and typography - and use masking and blend modes to refine the final look.
The best results come from generating assets with clarity and intention, followed by thoughtful compositing.
How to Pick Packs That Work Well with Collage and Overlays
Once you've assembled your layers, the next step is choosing prompt packs that fit seamlessly into your collage and overlay projects. The right packs can help you create visually layered art for formats like posters, album covers, and zines. However, some packs may produce outputs that are too cluttered or lack the necessary contrast, making layering more challenging. Knowing what to look for can save you time and improve your results.
Checking Visual Characteristics
Start by evaluating whether a pack's outputs provide enough open space for overlays. Packs that generate images with "empty light center areas" or neutral backgrounds are ideal because they leave room for focal elements without overwhelming the composition. Similarly, packs that produce flat, 2D-style visuals are better for layering since they avoid perspective issues that can disrupt your design.
High contrast is another important factor. Outputs featuring black ink on light paper or dark silhouettes against muted backgrounds make masking easier and work naturally with blend modes like Multiply. These clear, high-contrast visuals help integrate focal points and backgrounds smoothly into a mixed media piece. On the other hand, packs that lean toward muddy mid-tones may require extra work to clean up edges.
As Art Prompt HQ explains, "Packs double as teaching tools so you can see which tokens control style, lighting, composition, and mood." For those looking to master these tokens, a Midjourney prompt mega bundle can provide the deep dive needed into advanced construction techniques.
Checking Texture Quality and Resolution
For mixed media projects that need to be print-ready, resolution is critical. Look for packs that specifically highlight "8K detail" or "high resolution" to ensure the outputs maintain quality when scaled for zines or gallery prints.
Beyond resolution, pay attention to texture details. Packs that capture fine elements like ink lines, paper grain, or the fiber quality of materials (e.g., matte paper or charcoal) will blend more naturally into a collage. For example, textures like "yellowed vintage newspaper" or "paint drip edges" add authenticity and depth, enhancing both the background and overlay layers. Additionally, confirm that negative prompts effectively remove artifacts, watermarks, or stray text, reducing the need for manual cleanup in your editing software.
Once you're confident in the quality of the outputs, it's time to test the pack in action.
Testing Packs Before Committing
Testing is essential to ensure the pack works well with your layered compositions. Use sample outputs and integrate them into your workflow to see how they function as layers. Check if the pack maintains consistent lighting and framing when swapping out elements - this consistency often indicates a well-designed system rather than a collection of random prompts.
For print projects, run a small-scale print test to check whether textures like paper grain and ink lines remain sharp at full size. This step can prevent costly mistakes when producing physical copies. If possible, test the pack with multiple AI models. For instance, Midjourney excels at handling complex, layered backgrounds, while Flux is better for creating clean focal elements without unwanted text artifacts. Observing how the pack performs across different tools can give you a sense of its versatility and reliability throughout your workflow.
Where to Find Mixed Media-Friendly Prompt Packs on Art Prompt HQ
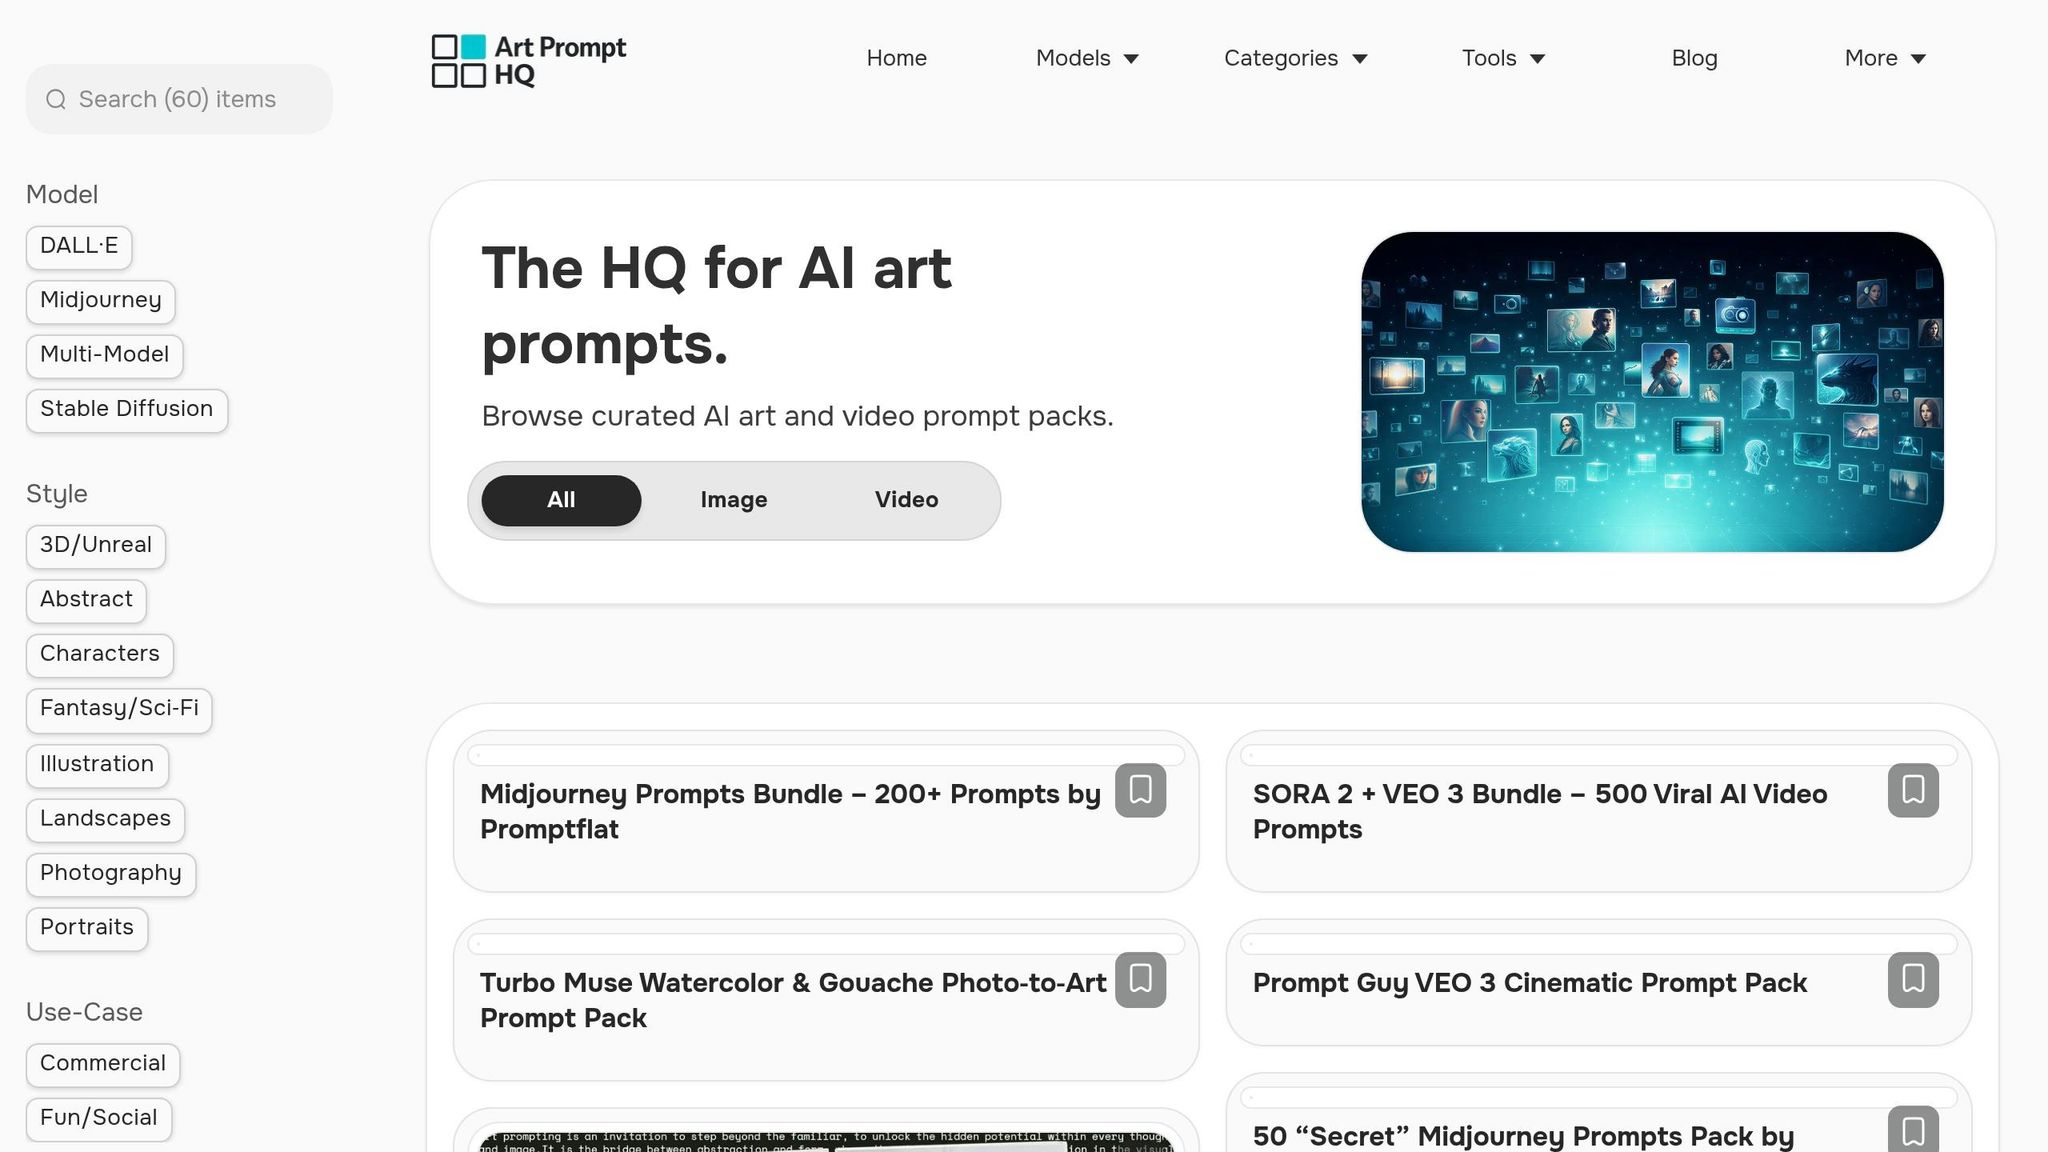
Once you’ve got a handle on layered workflows, the next step is finding the right prompt packs to bring your mixed media projects to life.
Art Prompt HQ simplifies this by categorizing packs based on model, style, and use case. This setup makes it easy to mix and match packs across different categories, creating a layered system tailored to your needs instead of relying on a single, catch-all solution.
Abstract and Experimental Packs
Abstract and experimental packs are key to many mixed media setups. These packs are designed to produce painterly effects, textured surfaces, and elements like ink washes or mosaic patterns. They often generate compositions with open spaces - think floral frames, soft bokeh effects, or intricate borders - that naturally highlight your focal subject. Whether you’re working on digital zines, posters, or album covers, these outputs are ideal for base layers or overlays in your projects.
Portrait and Character Packs
Portrait packs and character packs are perfect for creating consistent, high-contrast focal elements. These packs are designed with mixed media in mind, offering templates that maintain visual continuity across different outputs [1]. This is especially useful for projects like gallery prints or social media collages where a cohesive appearance for your central character is crucial.
Landscape and Environment Packs
Landscape and environment packs are ideal for crafting atmospheric backgrounds. They provide minimalist settings - like soothing cinematic landscapes - that complement your focal elements without overwhelming them. These packs pair beautifully with portrait outputs, adding depth and a sense of place to your compositions. When combined with abstract textures, they create a layered, intentional look for your work.
Combining Categories for Mixed Media
Understanding the strengths of each category allows you to create a seamless mixed media workflow. A common approach is to use an abstract texture pack for the base, a portrait or character pack for the focal subject, and a landscape pack for the background. By matching lighting and color tones across these layers, you can achieve a cohesive and polished final piece. Explore curated AI prompt packs for mixed media projects to find the perfect combination of textures, subjects, and environments for your creative vision.
FAQs
What type of prompt pack should I start with for a collage?
To build a strong foundation for your mixed-media projects, begin with packs that offer clear, well-defined assets. Focus on subject-specific packs, such as portraits or objects, to create focal points. Pair these with background packs to establish base scenes and use texture or abstract packs to add overlays and depth. By layering these elements, you can craft a polished and unified piece without the limitations or distractions of a fully pre-rendered scene. This method gives you more control and flexibility in shaping your final artwork.
How can I keep lighting and color consistent across models?
To keep lighting and color consistent across different AI models, use modular prompts that treat elements like lighting, color palette, and style as fixed components. Rely on precise descriptors such as "volumetric fog" or "Rembrandt lighting" - these terms are widely understood by various models. When working on a series, define constants for lighting and color, making adjustments only to the subject or environment. Multi-model prompt packs are especially useful for ensuring compatibility and uniformity during cross-model testing.
What negative prompts should I reuse on every layer?
To maintain uniformity in your mixed media project, consider reusing a standard negative prompt string to address common AI artifacts. These strings are designed to filter out issues like unwanted text, logos, watermarks, blurring, or even extra limbs. By using consistent negative prompts, you can ensure that base layers, textures, and focal elements remain clean, minimizing distractions and creating a smoother compositing process for your layered workflow.